Build a typing indicator with RxJs and Pusher
August 22, 2017

In this tutorial, we will walk through how to build a who’s typing feature in a Chat Application. Below is a video of how the final application would look:
This tutorial assumes prior knowledge of Node.js, jQuery, and RxJS. We would focus on the implementation of the who’s typing feature of the application.
Now, let us dive into how we we will build the who’s typing feature in the chat application.
Setup a Pusher Account
We would be using Pusher for the real-time features of this chat application. To create a Pusher account go to https://pusher.com/signup. When you first log in, a pop-up dialogue appears as shown below:
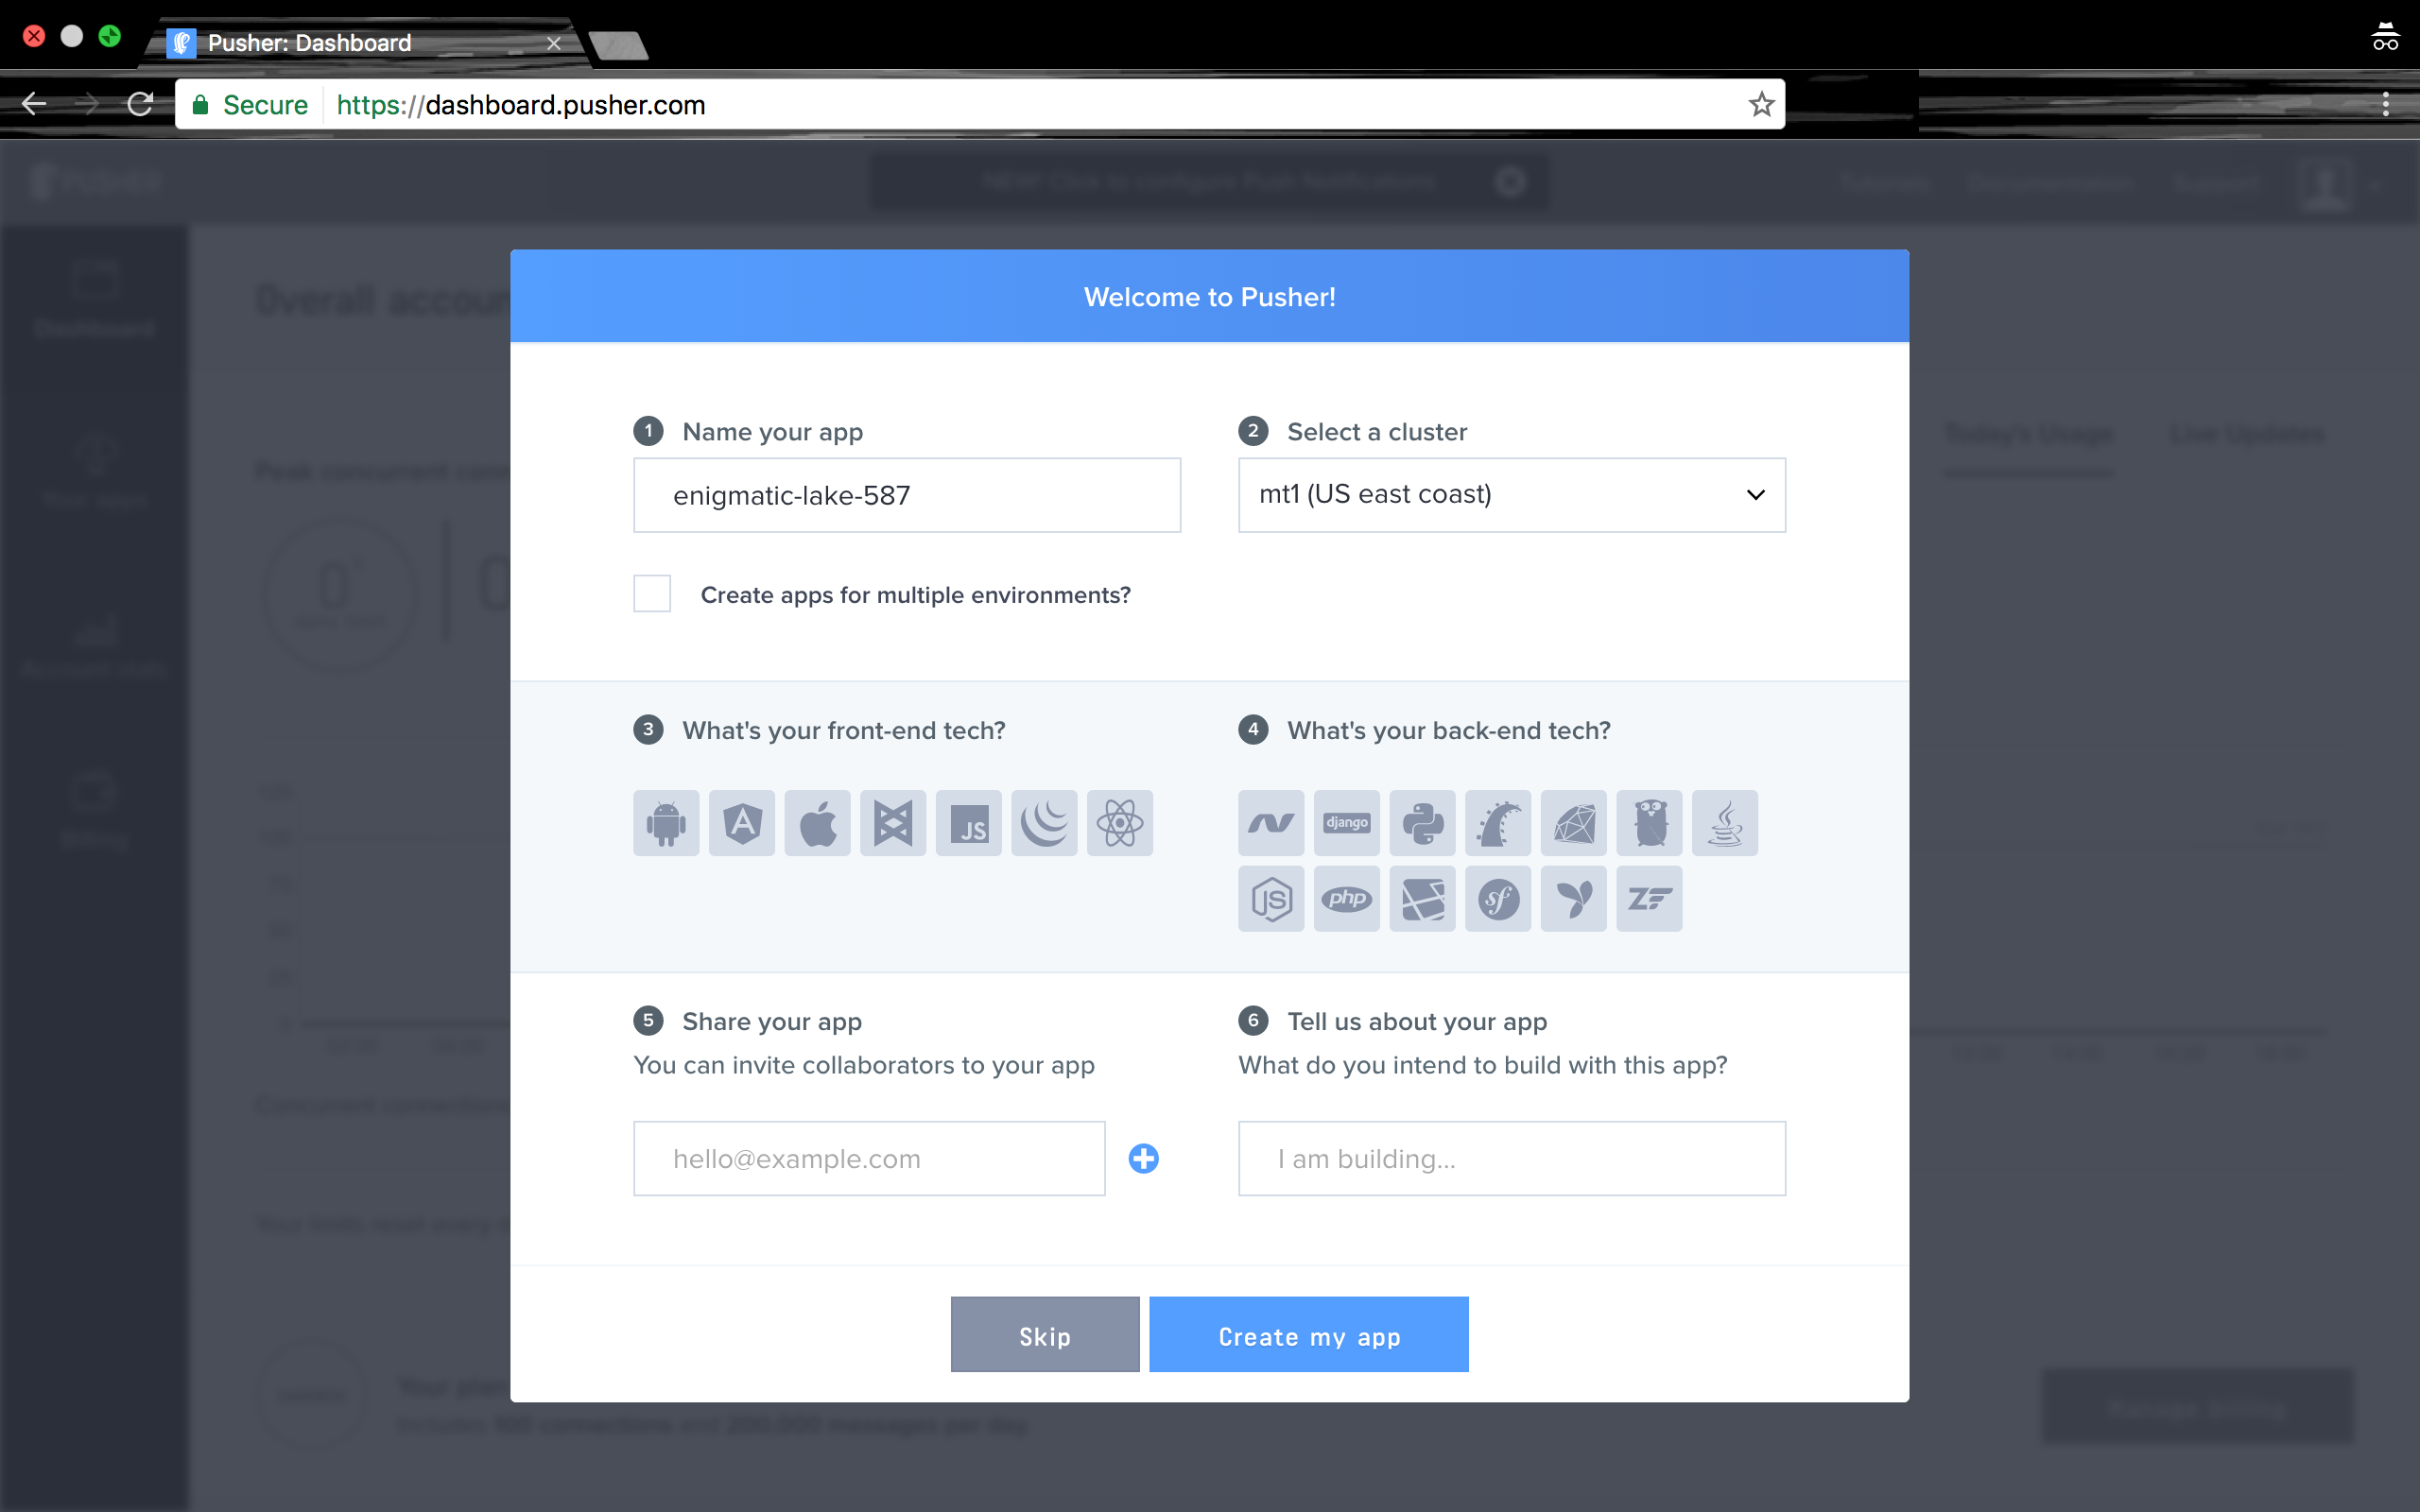
If you already have an account, log in to the dashboard and click on the Create new app button in the Your apps to the left. Select VanillaJS for the front-end tech and Node.js for the backend tech. Don’t worry, the tech stack you select doesn’t matter, you can always change it later. Its purpose is to generate starter code that you can use to start communicating with Pusher.
After creating the application, go to the App Keys tab and copy your App ID, Key, and Secret credentials. We will use them later in the tutorial.
1. Setup the Node.js Server
Now that you have your Pusher Keys, let’s get to building the real-time chat application.
First, generate a Node.js application using this command:
npm init -yNext, install Express, Pusher and some other dependencies the server would be needing:
npm install --save body-parser ejs express pusherWhen done, the dependency section of your package.json file should look like this:
"dependencies": {
  "body-parser": "^1.16.0",
  "ejs": "^2.5.5",
  "express": "^4.14.1",
  "pusher": "^1.5.1"
}
To serve our application we need to do three things:
-
Setup express and pusher.
-
Create routes to serve our application pages and listen for web requests.
-
Start the express server.
2. Setup Express and Pusher
Inside the server.js file, we initialize express and pusher like this:
const express = require('express');
const bodyParser = require('body-parser');
const ejs = require('ejs');
const path = require('path');
const Pusher = require('pusher');
const config = require('./config');

const app = express();

//Initialize Pusher
const pusherConfig = config.pusher;
const pusher = new Pusher({
  appId: pusherConfig.appId,
  key: pusherConfig.key,
  secret: pusherConfig.secret,
  encrypted: true,
});
NOTE: Update the config.js file with the Pusher API Keys that you copied earlier.
3. Create routes to serve our application
Setup Express to serve our static files from the public folder and to load our HTML views from the views .
app.use(express.static(path.join(__dirname, 'public')));

app.set('views', path.join(__dirname, 'views'));
app.set('view engine', 'ejs');

app.get('/', function(req, res) {
  res.render('index', {
    // pass pusher key to index.ejs for pusher client
    pusherKey: pusherConfig.key
  });
});
Next, we create a route that uses pusher to broadcast a user_typing event.
const chatChannel = 'anonymous_chat';
const userIsTypingEvent = 'user_typing';
const newMessageEvent = 'user_message';

app.post('/userTyping', function(req, res) {
  const username = req.body.username;
  pusher.trigger(chatChannel, userIsTypingEvent, {username});
  res.status(200).send();
});
The route then broadcasts the requests username to everyone subscribed to the channel. For more information on pusher channels and events look at their docs here and here.
4. Start the Express Server
Then start the express server to listen on the app port in the config.js file.
app.listen(config.appPort, function () {
  console.log('Node server running on port 3000');
});
Now we have the application server setup. Next, we go ahead to develop the chat application’s user interface and functionalities.
5. Setup the Chat Application Web Page
The HTML for the chat application is in the views/index.ejs file. First, we load jquery, bootstrap, RxJS and our custom style and javascript:
<head>
<meta charset="utf-8">
<meta name="viewport" content="width=device-width, initial-scale=1">
<title>Who is typing functionality with Pusher</title>
<link rel="stylesheet" href="https://maxcdn.bootstrapcdn.com/bootstrap/3.3.7/css/bootstrap.min.css" integrity="sha384-BVYiiSIFeK1dGmJRAkycuHAHRg32OmUcww7on3RYdg4Va+PmSTsz/K68vbdEjh4u" crossorigin="anonymous">
<link href='https://fonts.googleapis.com/css?family=Source+Sans+Pro:200,300,400,600,700,900,200italic,300italic,400italic,600italic,700italic,900italic' rel='stylesheet' type='text/css'>
<link rel="stylesheet" href="/css/style.css">
<script src="https://cdnjs.cloudflare.com/ajax/libs/jquery/3.1.1/jquery.js"></script>
<script src="https://cdnjs.cloudflare.com/ajax/libs/rxjs/5.0.1/Rx.min.js"></script>
<script src="https://maxcdn.bootstrapcdn.com/bootstrap/3.3.7/js/bootstrap.min.js" integrity="sha384-Tc5IQib027qvyjSMfHjOMaLkfuWVxZxUPnCJA7l2mCWNIpG9mGCD8wGNIcPD7Txa" crossorigin="anonymous"></script>
<script src="https://cdnjs.cloudflare.com/ajax/libs/cuid/1.3.8/browser-cuid.min.js"></script>
<script src="https://js.pusher.com/4.0/pusher.min.js"></script>
<script type="text/javascript" src="/js/app.js"></script>
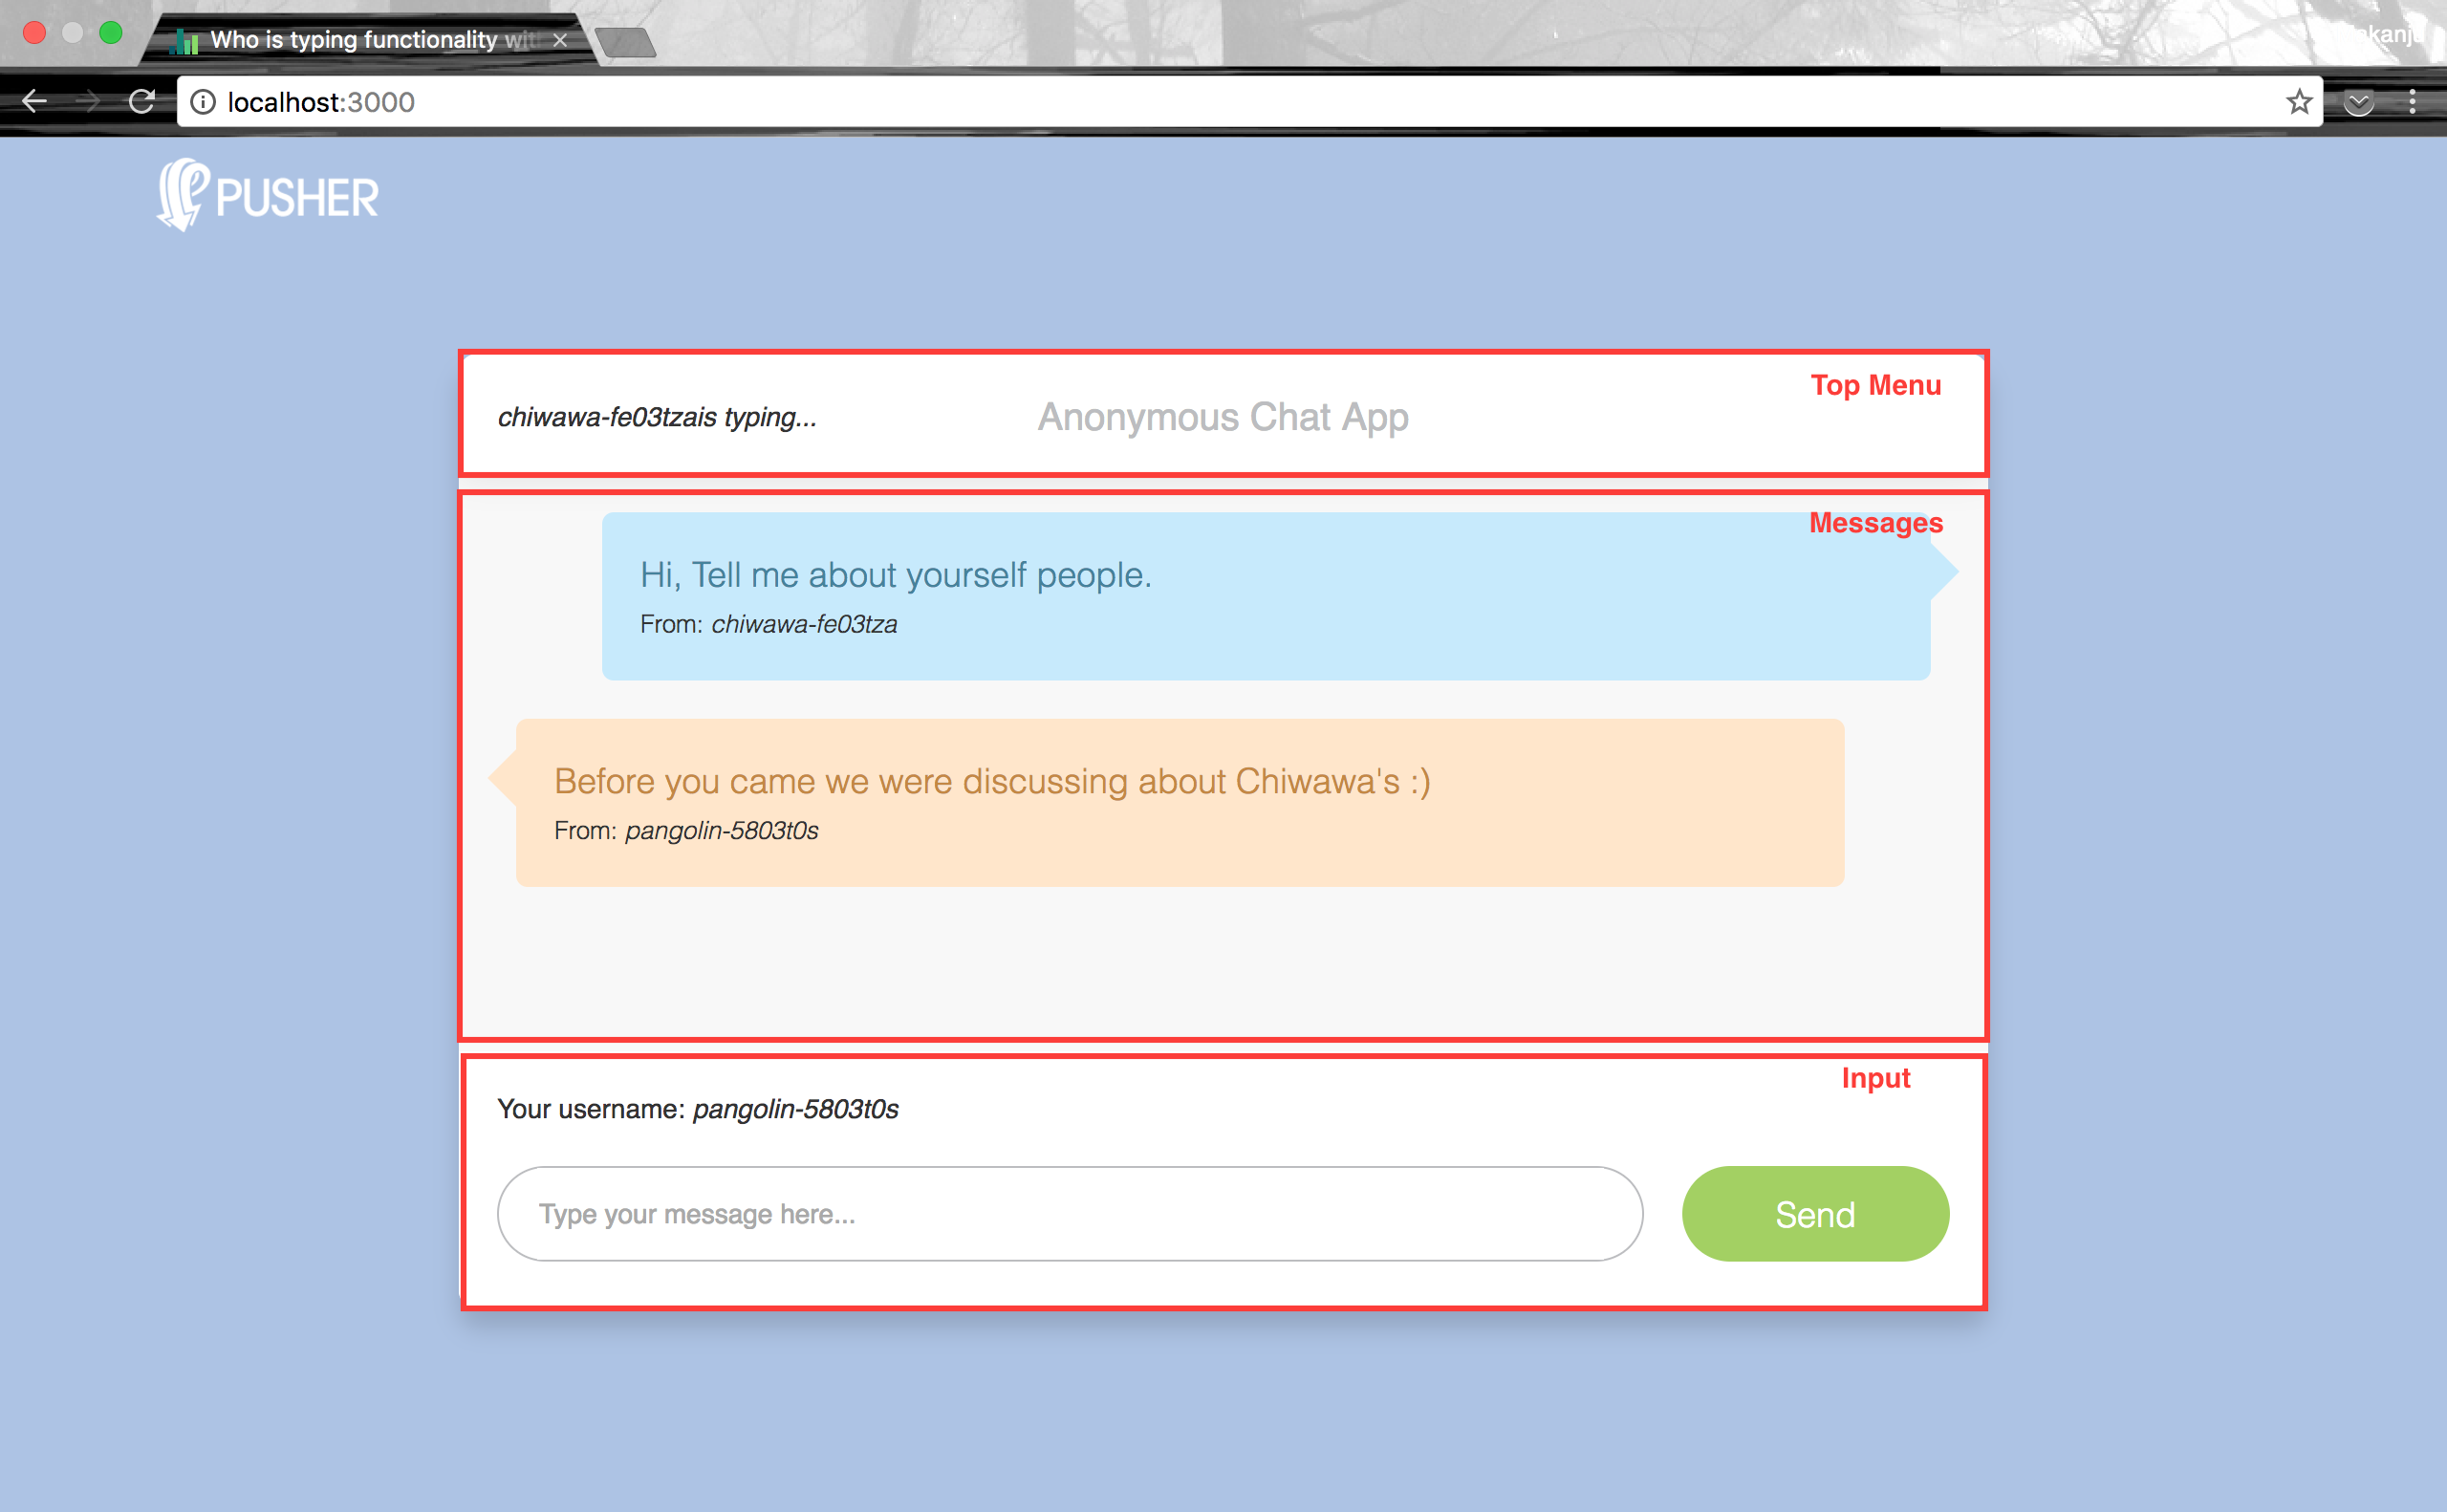
</head>There are three sections in the applications user interface:
-
Top Menu: This contains the application title and a section to show who is currently typing.
-
Messages: This contains a list of all messages sent and received.
-
Input: This contains the text field to input messages and also contains the send button.
And here is the HTML for it:
<div class="chat_window">

  <div class="top_menu">
    <div class="is_typing">
      <em id="user-is-typing"></em>
    </div>
    <div class="title">Anonymous Chat App</div>
  </div>

  <ul class="messages">
  </ul>

  <div class="input bottom_wrapper clearfix">
    <div>
      Your username: <em><span id="username">loading...</span></em>
    </div>
    <br/>
    <div class="message_input_wrapper">
      <input id="message-text-field" class="message_input" placeholder="Type your message here..." />
    </div>
    <div id="send-button" class="send_message">
      <div class="icon"></div>
      <div class="text">Send</div>
    </div>
  </div>
</div>
Now that the user interface is setup, let us add the who’s typing feature to the application. Open the public/js/app.js file for these.
6. Pusher and RxJS
Pusher’s javascript library has a subscribe() function to subscribe to channels. Then you can bind() to channels to listen to events on them.
pusher.subscribe(channel).bind(event, callbackFunction);The callbackFunction() is invoked with the event data when there is a broadcast on the channel. To convert this function to an Observable Stream, let’s create a helper function:
function createPusherObservable(pusher, channel, event) {
  var pusherMessageStream = new Rx.Subject();
  pusher.subscribe(channel)
    .bind(event, pusherMessageStream.next
    .bind(pusherMessageStream));
  return pusherMessageStream;
}
In createPusherObservable(), we create an Rx.Subject, and use it’s next() function as the callbackFunction(). We then return the subject as an observable that can be subscribed to. So we can use it like this:
var pusher = new Pusher(PUSHER_KEY, {});
createPusherObservable(pusher, 'channel', 'event')
  .subscribe();
For more information on Reactive Programming visit the ReactiveX Website.
Now let’s see how we can use our helper function to listen to the user_typing event.
7. Subscribing to user_typing Event
First, we need to initialize pusher and some other variables.
var pusher = new Pusher(PUSHER_KEY, {encrypted: true,});
var chatChannel = 'anonymous_chat';
var userIsTypingEvent = 'user_typing';
var newMessageEvent = 'user_message';
var currentUsername = generateUsername();
$('#username').html(currentUsername);
Next, we would need to create a function to subscribe to the user_typing event observable.
function handleUserIsTypingEvent(data) {
  if(data === null) {
  //clear user is typing message
    $('#user-is-typing').html('');
  } else {
    $('#user-is-typing').html(data.username + 'is typing...');
  }
}
It updates the user is typing section of the user interface with the username or clears it if the data is null.
Next, we create an Observable for the user_typing event and subscribe to it.
function isNotCurrentUser(payload) {
  return payload.username != currentUsername
};

var userIsTypingStream = createPusherObservable(pusher, chatChannel, userIsTypingEvent)
      .filter(isNotCurrentUser)

userIsTypingStream
  .subscribe(handleUserIsTypingEvent);
Notice the .filter(isNotCurrentUser), this prevents responding to the current user’s typing events.
Now, the application updates its interface with the username of who’s typing. But we also need to clear the user is typing message when the user stops typing or the message stays forever (and we definitely don’t want that). An easy solution is to set a timer that clears the user is typing message after seconds of not receiving an event. From experience, a clear timer of 0.8 seconds has given the best results.
RxJS makes working with timed events a breeze. So, let’s create an observable timer that starts emitting a null value at every 0.8 seconds interval.
var clearInterval = 800; //0.8 seconds
var userIsTypingClearTimer = Rx.Observable.timer(clearInterval, clearInterval)
  .mapTo(null);
But we need this clear timer to restart when the userIsTypingStream emits a new event. We can achieve this effect by combining two Stream operators: takeUntil and repeat
var clearInterval = 800; //0.8 seconds
var userIsTypingClearTimer = Rx.Observable.timer(clearInterval, clearInterval)
  .mapTo(null)
  .takeUntil(userIsTypingStream)
  .repeat();
So the clear timer emits null values every 0.8 seconds and restarts when the userIsTypingStream emits a value.
Then update the userIsTypingStream subscription code by merging the clear timer stream with it.
userIsTypingStream
  .merge(userIsTypingClearTimer)
  .distinctUntilChanged()
  .subscribe(handleUserIsTypingEvent);
Notice the .distinctUntilChanged(), this prevents emitting consecutive similar events as it is wasteful. See more about distinctUntilChanged() here.
Now we have the user is typing event cleared after 0.8 seconds of inactivity. Putting it all the codes together we have:
var userIsTypingStream = createPusherObservable(pusher, chatChannel, userIsTypingEvent)
  .filter(isNotCurrentUser);

var clearInterval = 800; //0.8 seconds
var userIsTypingClearTimer = Rx.Observable.timer(clearInterval, clearInterval)
  .mapTo(null)
  .takeUntil(userIsTypingStream)
  .repeat();

//subscribe to channel events
userIsTypingStream
  .merge(userIsTypingClearTimer)
  .distinctUntilChanged()
  .subscribe(handleUserIsTypingEvent);
There you have it. RxJS is awesome right?
Next, let’s see how we will broadcast the current users user_typing event.
8. Broadcasting user_typing Event
First, let’s create a function to post usernames to the /userTyping route on the Node.js server.
function publishUserTyping(username) {
  return $.post('/userTyping', {username: username}).promise();
}
Next, we need to capture the current user’s inputs event. We use Rx.Observable.fromEvent() to convert events on a DOM Element to an Observable Stream.
var messageTextField = $('#message-text-field');
var messageInputStream = Rx.Observable.fromEvent(messageTextField, 'keyup');
Now we just need to map this event to the current user’s username and subscribe to it.
messageInputStream
  .mapTo(currentUsername)
  .subscribe(publishUserTyping);
This would broadcast an event with every key input of the user in the message text field. While this is good, it is not optimal because every broadcast will make a call to the server.
A better way to do this is to throttle the rate at which the events are being emitted by the messageInputStream. You can see more information about throttling here.
var ENTER_KEY = 13;
var typingStream =  messageInputStream
  .filter(function(event){return (event.which !== ENTER_KEY);})
  .throttleTime(200); //0.2 seconds

typingStream
  .mapTo(currentUsername)
  .subscribe(publishUserTyping);
So we created a new Stream from the messageInputStream called typingStream. typingStream has its values throttled for 0.2 seconds. But you can use any throttle time you like, only ensure it is less than the clear interval time. We then subscribe to typingStream.
Also, notice the .filter() which prevents emitting a typing event when the Enter Key is pressed.
So putting it all together, the final code looks like this:
function publishUserTyping(username) {
  return $.post('/userTyping', {username: username}).promise();
}

var messageTextField = $('#message-text-field');
var messageInputStream = Rx.Observable.fromEvent(messageTextField, 'keyup');
var ENTER_KEY = 13;

var typingStream =  messageInputStream
  .filter(function(event){return (event.which !== ENTER_KEY);})
  .throttleTime(200); //0.2 seconds

typingStream.mapTo(currentUsername).subscribe(publishUserTyping);
Testing
First, ensure that you have updated the config.js file with your pusher credentials.
To run the application, execute the server.js file using the following command:
node server.js The application should be running now. Visit the chat web page at http://localhost:3000. To try out the who’s chatting feature, open two of the chat web pages beside each other. When you start typing in one, you would notice the other window show that you are currently typing.
Conclusion
In this tutorial, we saw how to build a who’s typing feature using Pusher with Node.js and RxJS.
Let me know in the comment ways you feel I could have done this better. Also don’t forget to give this post as one or more 👏 👏 if you liked what you read.
I wrote a guest post on Pusher on how to build a “who’s typing” chat feature that was implemented in plain javascript, so I decided to re-write the post using RxJS to implement the same features.
Special thanks to Ohans Emmanuel for reviewing this post.
ALSO, YOU SHOULD READ THESE ARTICLES

Using Postgres as a Task Queue
Introduction In the world of software development, task queues are essential for managing background jobs and asynchronous tasks. While… Read more
January 02, 2024![K Means and Image Quantization [Part 2]](/static/b76ca40a8dd5f3c0f9f1dce7a1eea349/d8255/k_mean_part_2_cover.jpg)
K Means and Image Quantization [Part 2]
This is the second part of a two part tutorial series. If you are yet to read the first part, I recommend you start from there. In part 1, I… Read more
January 28, 2018